How to get started
Everything you need to get started quickly with easyvis.io
Table of contents
Raspberry Pi Setup
Just a few steps are necessary to setup your raspberry pi.
- Download the easyvis.io image (with your account you can request an image)
- Flash the microSD card with the image by following the flashing instructions for your operating system
- Insert the microSD card and plug the power adaptor into the board
- Wait a few minutes until the initial setup is done
- Connect to the newly created wifi access point with the name “Device” and enter your wifi credentials via the page: http://10.42.0.1:5000/setup. After the successful wifi setup, note down the device id.
- Register your device in the easyvis console
- You are ready to go. Enjoy easyvis.io!
Flashing instructions
These steps will walk you through creating an easyvis.io SD Card
On Ubuntu
- Insert your SD card into your computer (make sure to have a formatted SD card in FAT 32 format)
- Identify its “drive address” by opening the “Disks” application and look for the “Device” line. If the line is in the
/dev/mmcblk0p1format, then your drive address is:/dev/mmcblk0. If it is in the/dev/sdb1format, then the address is/dev/sdb - In a terminal perform the following command to flash the image to your SD card
xzcat easyvis-pi3.img.xz | sudo dd of=< drive address > bs=32M - Run the
synccommand to finalize the process - You can eject your SD card and you are ready for the next steps
On Windows
- Insert your SD card into your computer (make sure to have a formatted SD card in FAT 32 format)
- Extract the downloaded image with an archive extractor software (e.g. 7-zip)
- Download and install the Win32DiskImager
- In a file explorer check at which drive your SD card is listed (e.g. F:)
- In the Win32DiskImager select the unpacked easyvis.io image file and the drive of the SD card.
- Flash the image to your SD card by pressing
Write - After the flashing process has finished you can eject your SD card and you are ready for the next steps
On MacOS
- Insert your SD card into your computer (make sure to have a formatted SD card in FAT 32 format)
- With the
diskutil listcommand identify your “disk number” (e.g. for/dev/disk3the number is3) - Unmount your SD card
diskutil unmountDisk disk<disk number> - Unzip the image
gunzip easyvis-pi3.img.xz - Copy the image to the SD card
sudo dd bs=1m if=easyvis-pi3.img of=/dev/disk<disk number> conv=sync - You can eject your SD card and you are ready for the next steps
Connect your visualization devices
Connect your visualization device (TV, led wall, …) to your raspberry pi by following the specific instructions for each device.
Android App Setup
Once you have access to easyvis.io you will provide you the instructions how to install the easyvis.io Android App on your TV or tablet.
- Install the Android App on your TV or tablet by following the instructions we provide you in your account
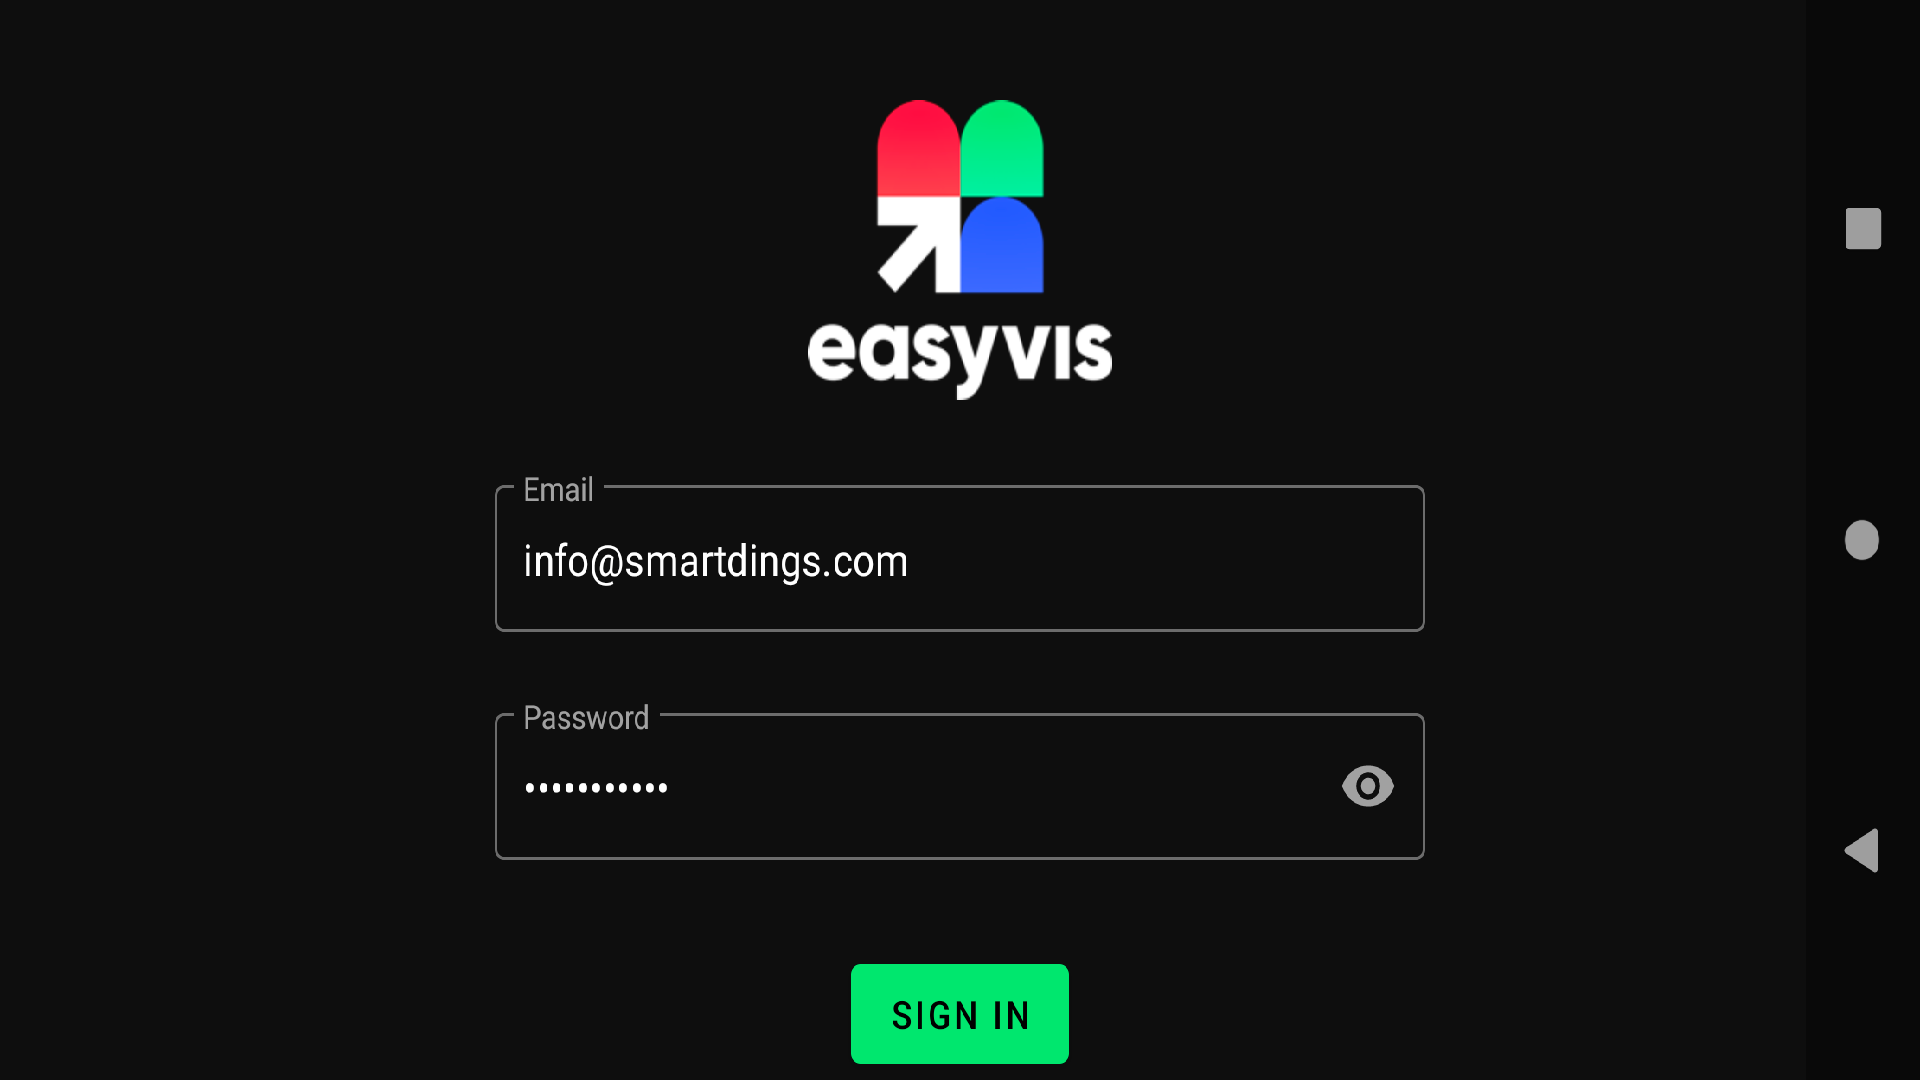
- Start the app and login with your easyvis.io credentials
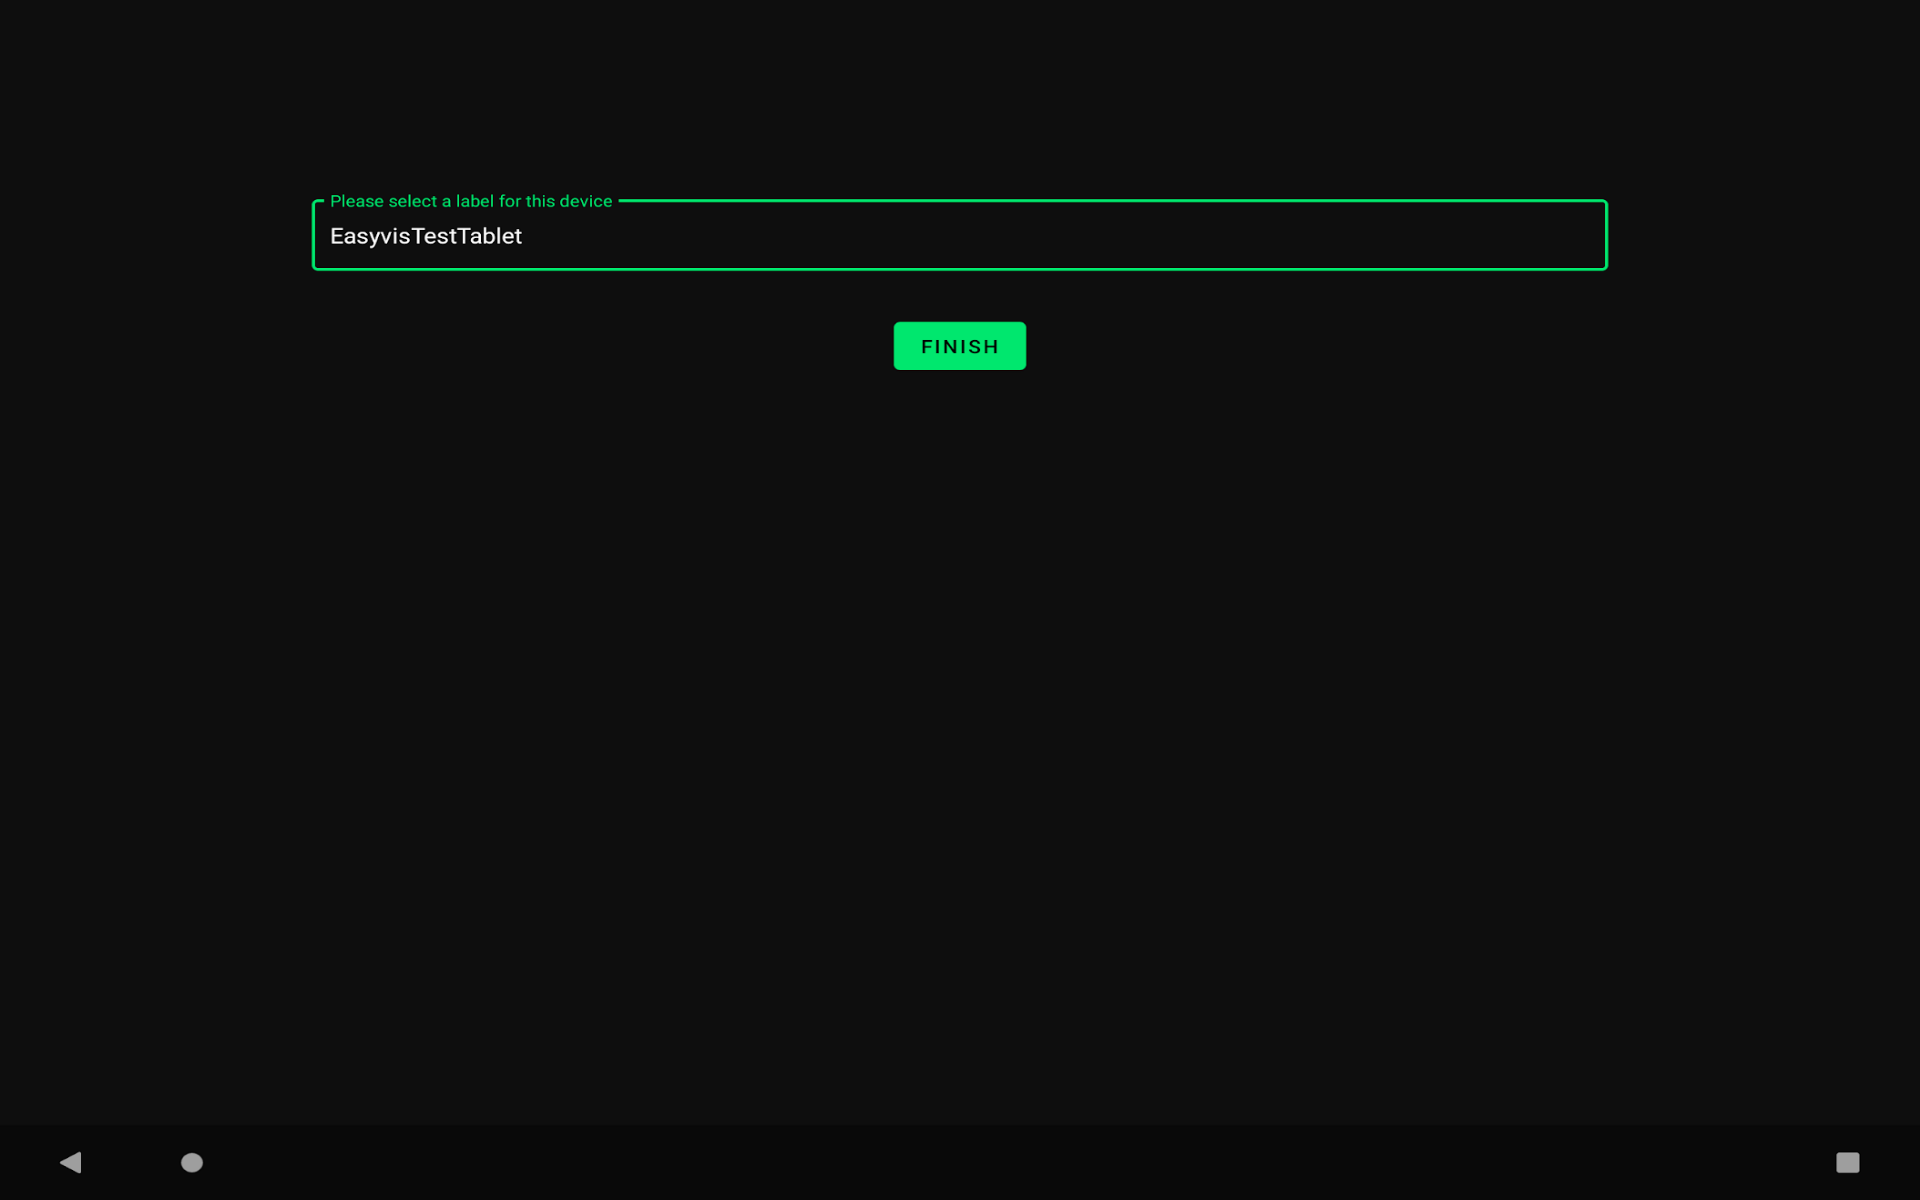
- With the first start of the app you need to provide a device label, so that you can reference the device from the easyvis.io console
- You are ready to play content on your Android device
Start controlling your visualization devices
The basis to control and manage your visualization devices is our API (API Reference) but for quick access and testing you can use the easyvis console.
The console is easy to use and no coding is required. To use the API directly check the authorization section, the visualization apps and the API Reference.